The bold permanence of markers can make them a little intimidating at first. One foul swoop can cause a lot of frustration, especially with detailed line art you’ve already inked.
Markers can also be an incredibly easy and convenient way to color your art. If you compare them to mediums like paints or colored pencils, markers have several benefits:
- They don’t need to be washed
- No sharpening/prep required
- Naturally bold and vibrant colors
- Maximum portability
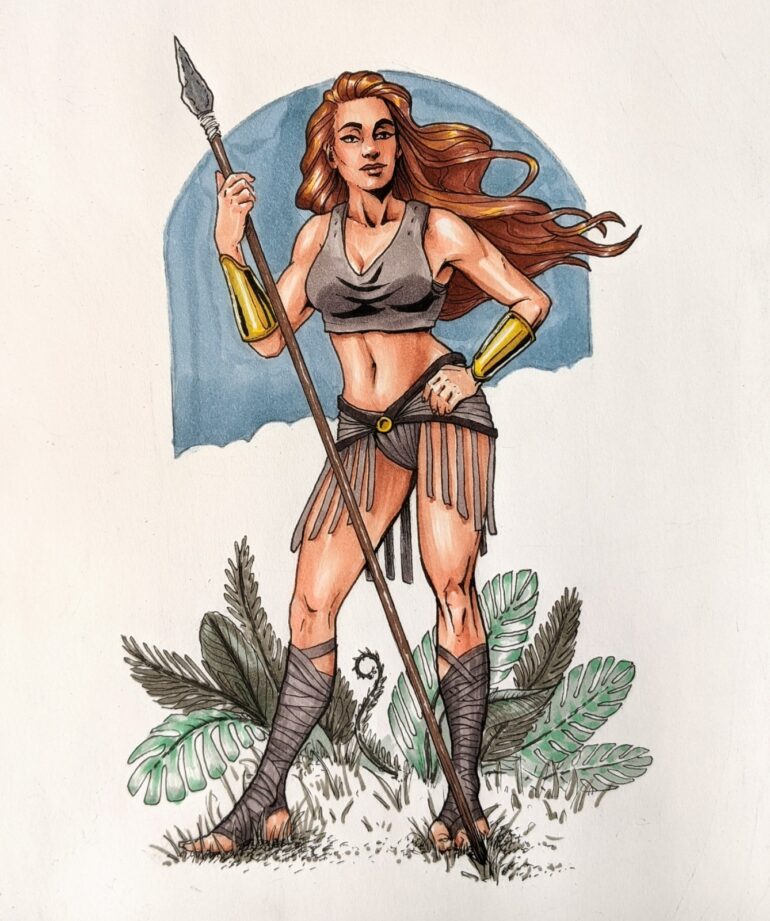
In this step-by-step tutorial, we’ll walk you through the process of using markers to color inked line art. The scene will feature a range of subjects including flesh, cloth and foliage.
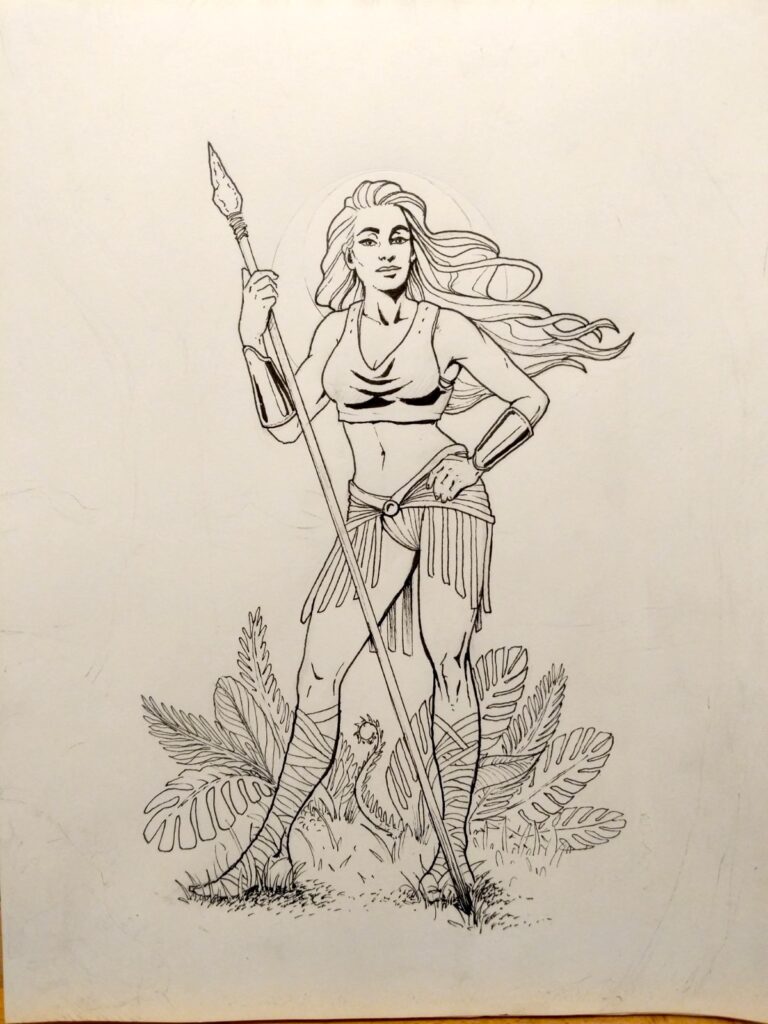
Quick tip! Be sure to scan or photograph a copy of any art you plan on coloring. If it all goes wrong it’s good to have a backup!
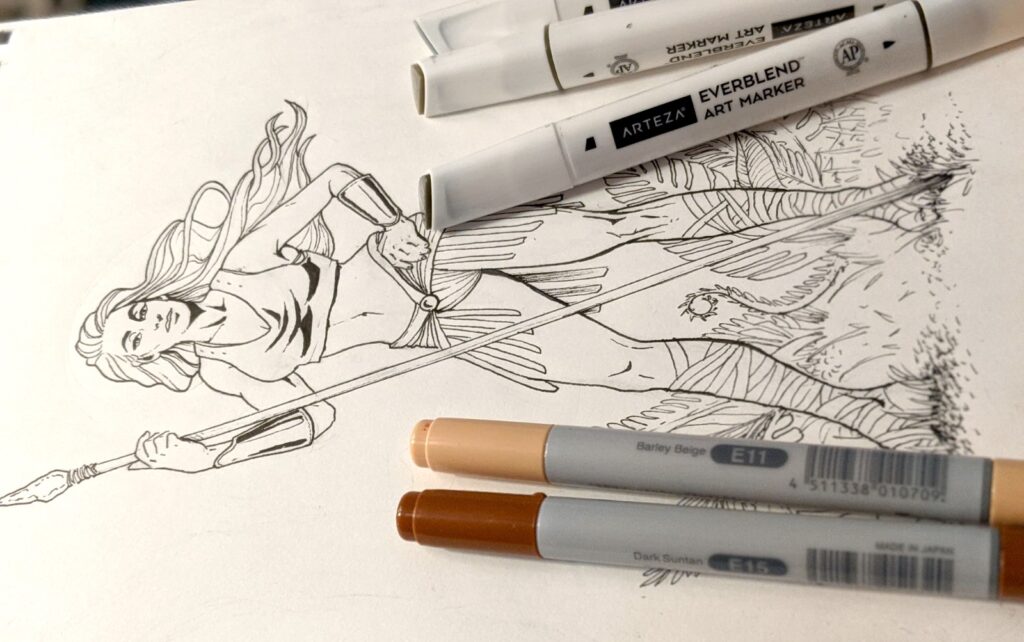
Materials used

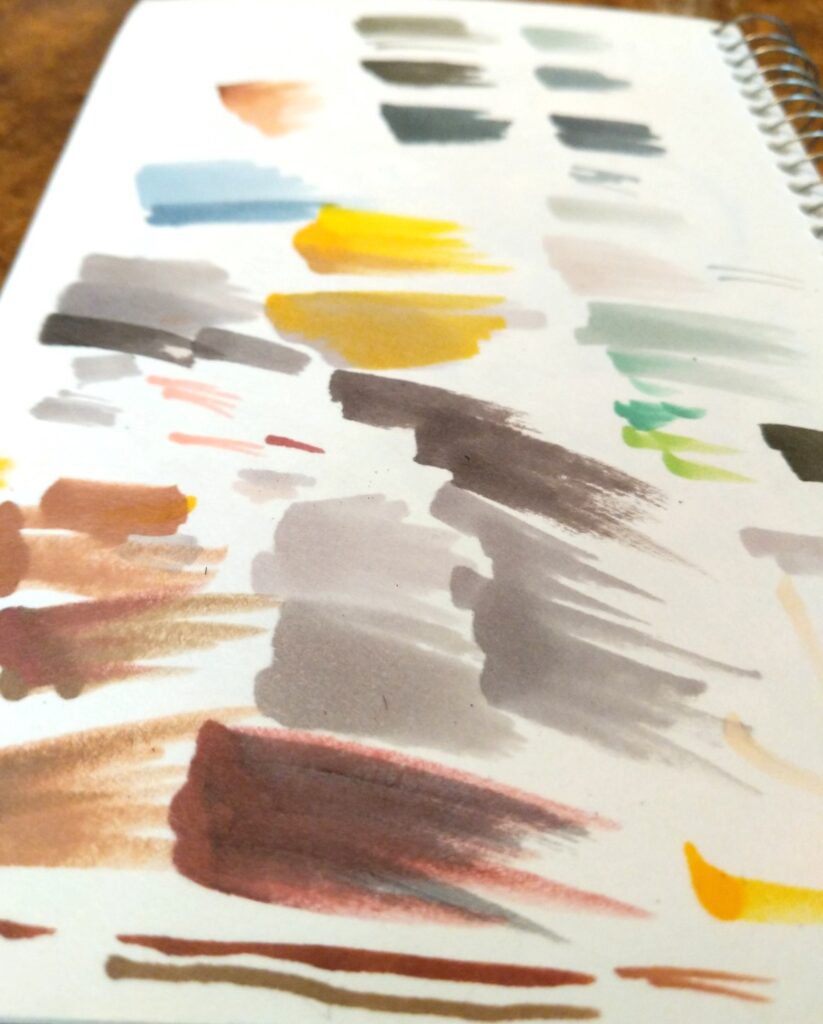
Scratch paper for testing colors
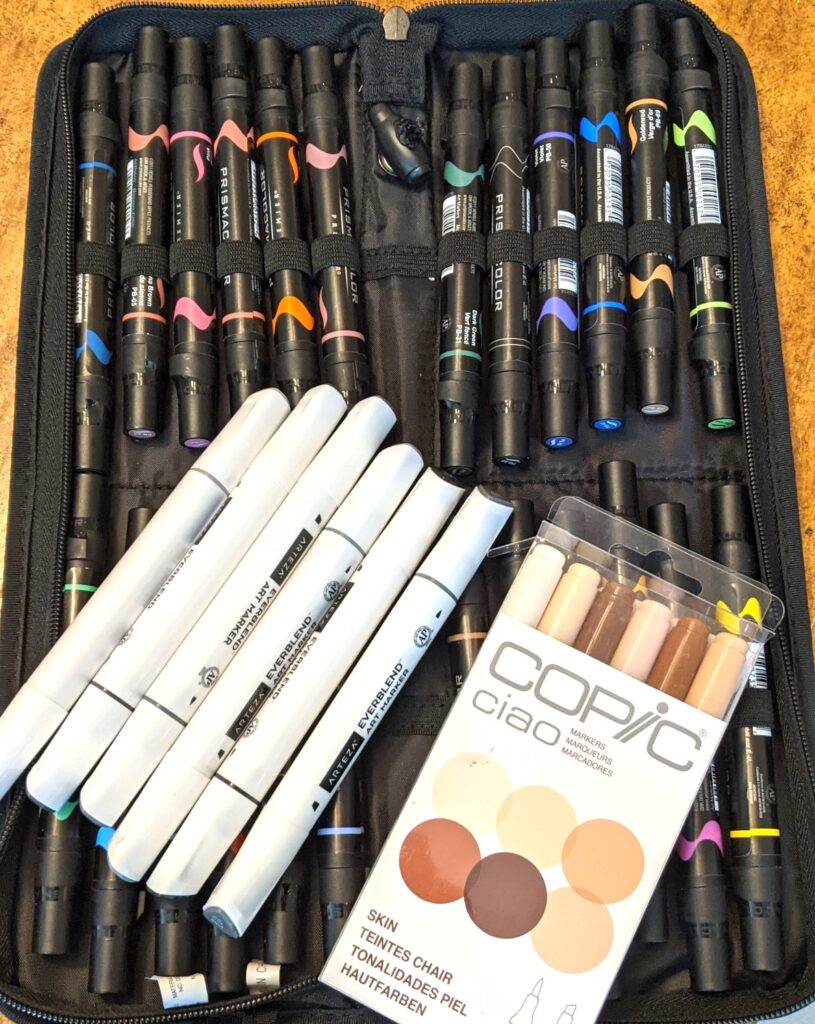
- Prismacolor Premiere double-ended art markers
- Copic Marker Ciao skin pack
- Arteza EverBlend alcohol marker grayscale set
As an Amazon affiliate, we may earn a small commission from your purchase. This helps support Mega Pencil at no cost to you. 🙂
The skin
The first step we’ll start with is laying down the flesh tones. The trick with coloring skin in marker (and any medium really) is to use several colors together. Human skin includes a range of pigments, so by mixing a few different hues the end result will be much more realistic.
I start by putting down the lighter shade first, making sure to leave areas blank where the light would hit. If the light source is above and in front of the figure, the middle of the forms would be reflect the most light. Each limb can essentially be though of as a cylinder.
To make the effect more subtle, it helps to gently lift the marker off the page as you approach the highlights.
A second pass with the marker gives me a sense of where I’ll accentuate the shadows later.
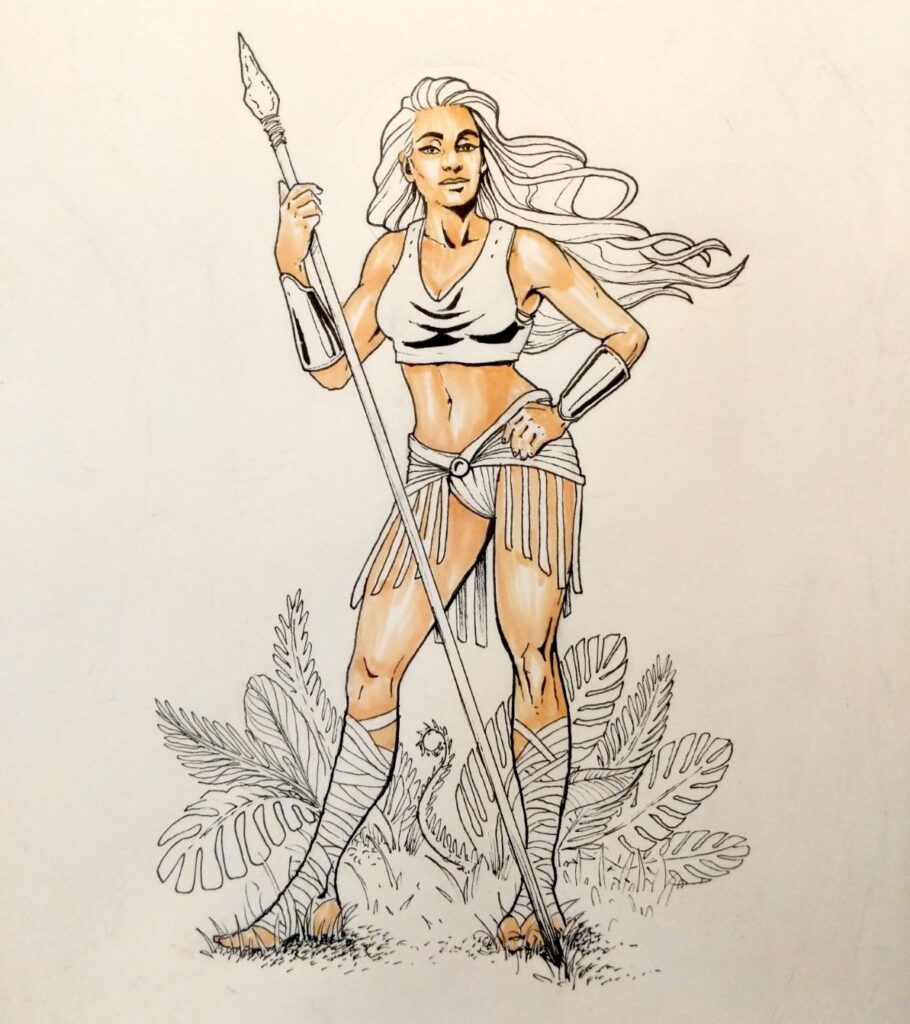
The second skin tone goes on much like the first – darker around the edges of the limbs and lifting off towards their center. To help create a sense of depth, I make sure to also add a darker stroke under the cloth strips by her thighs and anywhere else there would be a shadow.
These two layers were done while the marker was still slightly damp on the page. This helps the pigment mix together as it dries and blend more naturally.
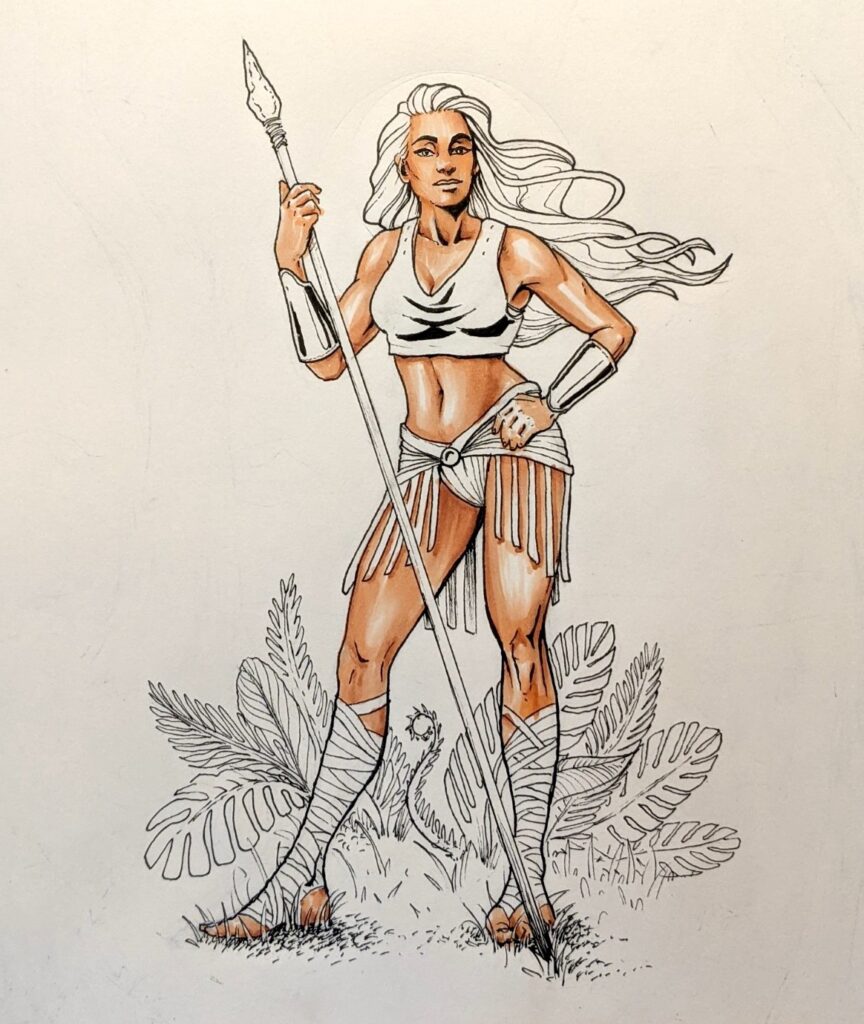
Hair and clothing
Just as with the skin, it’s important to leave areas white to represent the highlights. This is made a little easier using the brush side of the Prismacolor Premiere markers. The hair should be colored as a solid mass made up of smaller pieces that clump together.
Once the color has been applied across the hair, I wait for that to dry before applying another layer in the darker areas. By allowing it to dry, the second pass of marker won’t bleed into the lighter areas so easily.
Some yellow is added later around the shiny areas to make the lighting feel a little warmer.
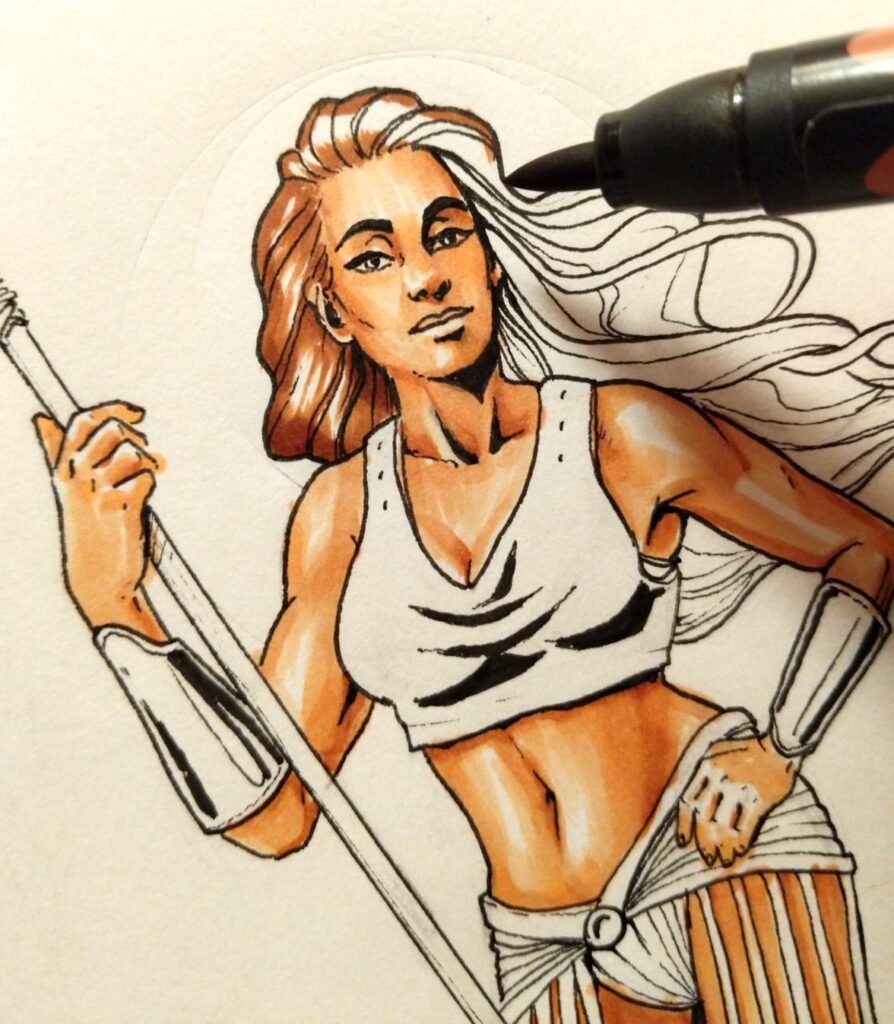
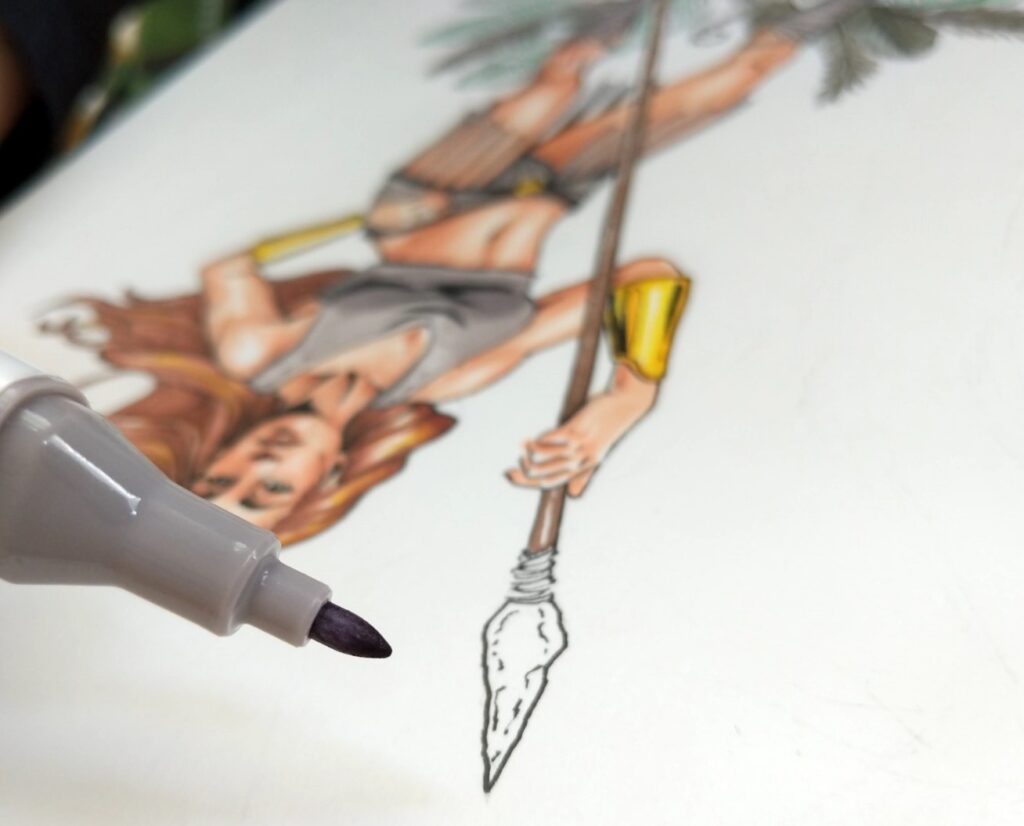
The clothing I imagine as a thick, cotton-type material, which means it will have a fairly matte appearance with no major highlights. Two shades from the Arteza EverBlend set are used here – one of the base color and one for the shadows.
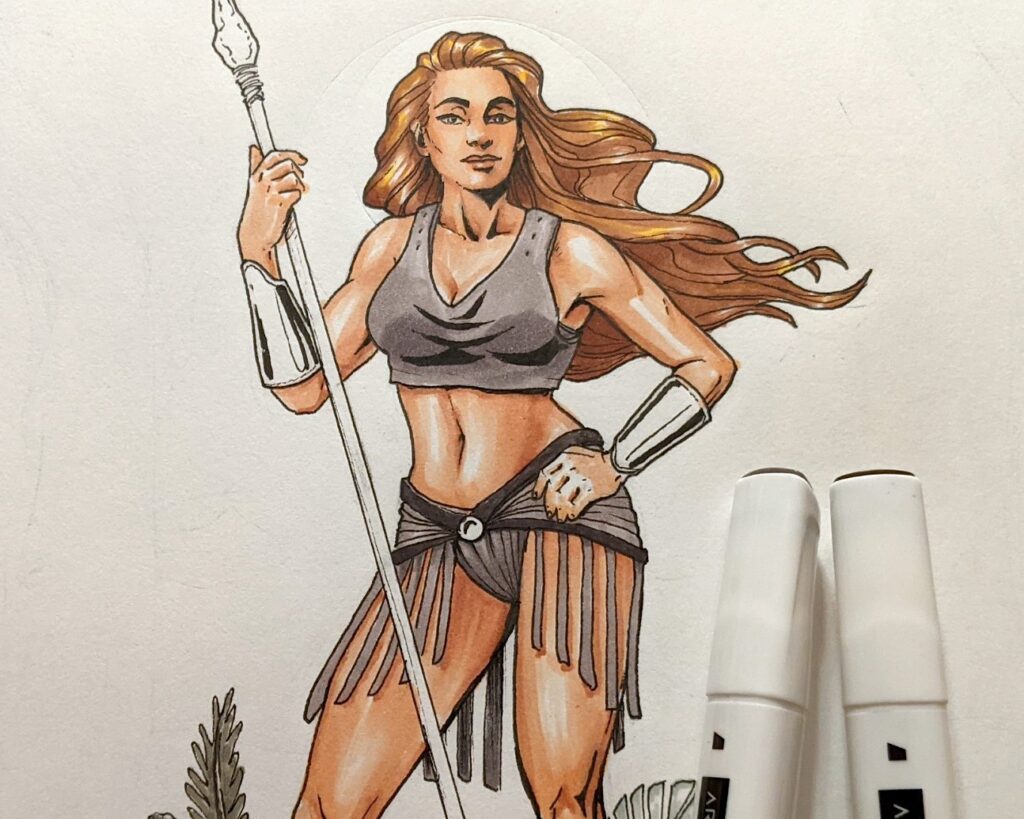
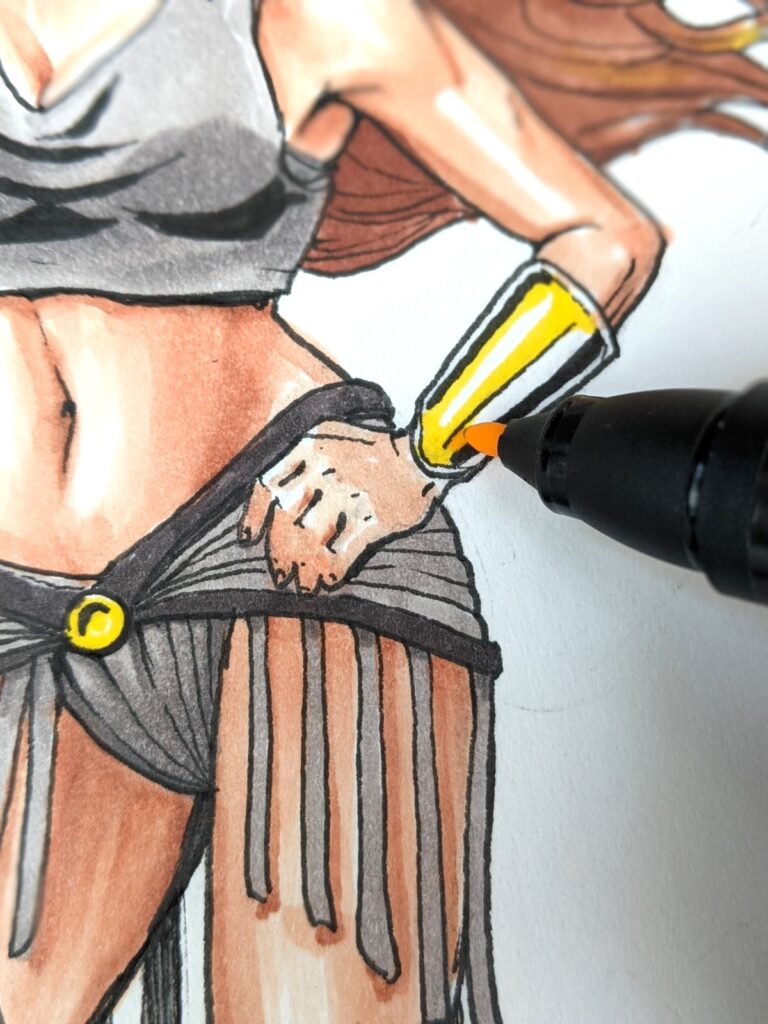
The armored gauntlets are the most reflective elements on the page, so it was important to leave multiple white areas for reflected light. A second darker yellow is added to add an impression of roundness.
Background elements
With the piece almost finished, I decided to add an abstract shape behind her to represent the sky. This creates more depth to the image and helps the figure pop into the foreground.
The ferns and grass around her feet are busy enough to easily overwhelm the composition. To counter that, I used the green hues from the Arteza grayscale set. This kept the area fairly neutral while still allowing a hint of color.
With the background done, I’m ready to call the image finished!
Remember – if your marker art still feels a little flat, don’t be afraid to go over it again with another layer or two. This can really help the contrast pop.

How to fix marker mistakes
Sometimes it’s good to color outside the lines, but mostly it’s not. 😉
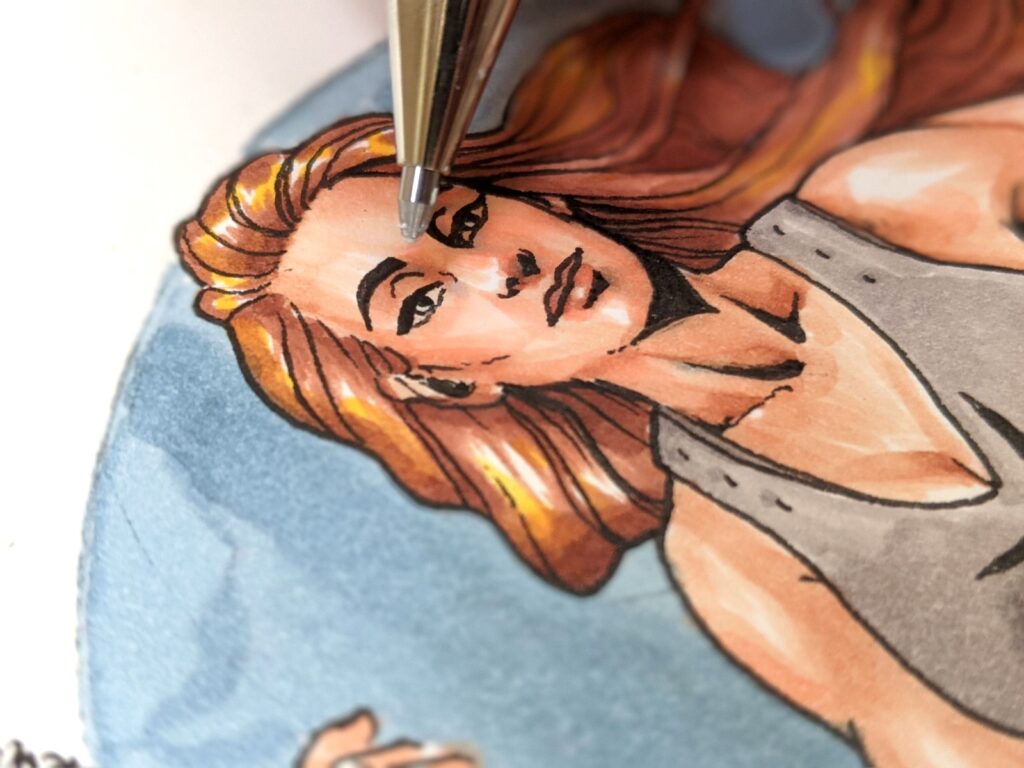
If you’ve made a few mistakes and you’re working against a white background, you can always use a white gel pen to cover up any errant strokes. The Uni Signo pen is a good choice for not only masking mistakes, but also adding highlights to areas like eyes and hair.